There are Shopify themes that allow you to add text within different compatible sections. Each theme has sections, and the configurations and positions of the elements may vary from one to another.
Below, we show you various examples of how to change the text and the banner for a theme section of the Shopify store (Praga theme).
1. Personalising the store
Go to the store control panel, click on the Online store > Themes section and click Customize on the active theme:
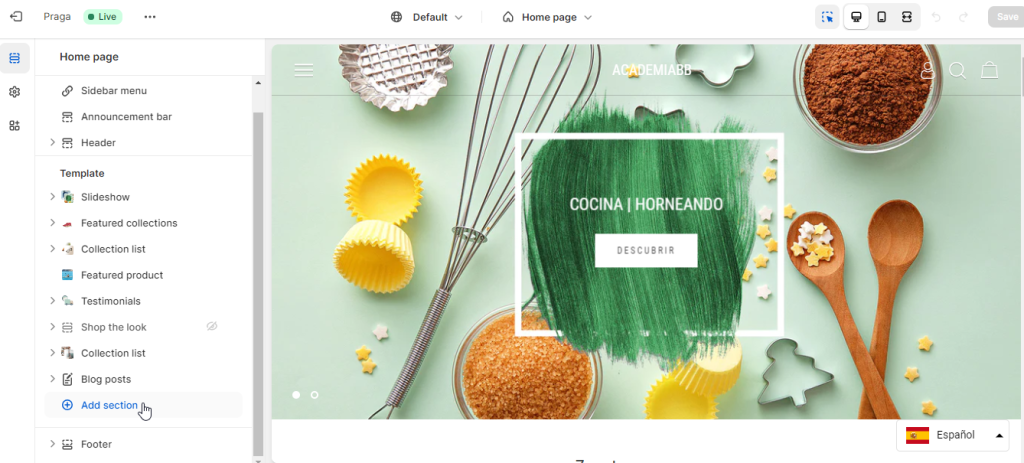
Go to the configuration screen for the theme, where you can change the distribution and appearance of the store, whether by changing sections, its position or the elements of each section.
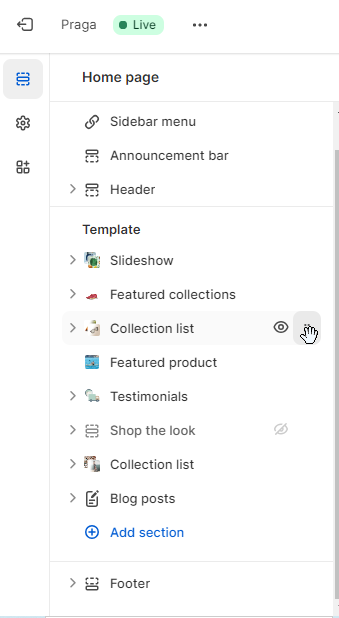
On the left of the screen, you can see the list of sections configured within the store’s theme.
By clicking on each section, you can access its configuration. This varies within different sections and themes.
2. Adding/changing the store logo
If, for example, you go to the store’s Header section, you will see the following configuration. You can add/change the store logo and link to one of the available menus here.
3. Adding/changing the banner text
The SlideShow section contains the viewing configuration for the Slideshow and the Content, which makes up each of the elements (banners) that form part of the slide. If you open one of these elements, you can check the configuration that you can carry out on each slide:
On this screen, you will find various text options that you can personalise, such as Sub-heading, Heading or Button Text. Depending on the theme, there may be more fields available. If you want to change the banner, you can also do it from this section.
If you change any of these fields, you can view the changes in the “preview” area on the left before clicking on Save. If you have made changes, click on Save, so they are reflected in the store.


 Contact


